Sticker residue can be a frustrating problem, but with the right techniques and materials, you can easily remove it from clothes, laptops, and cars. In this article, we will explore the various causes of sticker residue, how different surfaces are affected, and the common challenges faced when dealing with this issue. Additionally, we will provide step-by-step instructions for removing sticker residue from clothes, laptops, and cars, as well as share tips and tricks for handling stubborn residue. Now let’s move on!
Understanding Sticker Residue
What Causes Sticker Residue?
Sticker residue is primarily caused by adhesive substances used on stickers. These adhesives are designed to stick firmly to surfaces, but they can leave a residue when removed, especially if the sticker has been in place for an extended period of time. The residue is often a combination of adhesive and particles from the surface it has adhered to, making it even more challenging to remove.
How Different Surfaces are Affected?
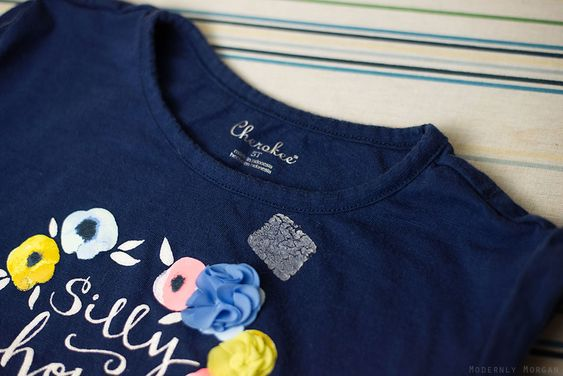
Different surfaces are affected by sticker residue in various ways. Fabrics, such as clothes, can have the residue seep into the fibers, making it particularly stubborn to remove. Laptops, with their delicate surface materials, require gentle methods to avoid damage. Cars, on the other hand, have a variety of surfaces, including glass, metal, and plastic, each requiring different approaches to effectively remove residue.
Preparing for the Removal Process
Gathering Necessary Materials
Before embarking on the journey of removing sticker residue, it is important to gather the necessary materials. This may include adhesive removers, scraping tools, rubbing alcohol, non-abrasive cloths, and specialized cleaning solutions. Having all the materials at hand will streamline the process and make it more efficient.
Assessing the Type and Condition of the Surface
Each surface requires a different approach for removing sticker residue, so it’s crucial to assess the type and condition of the surface before proceeding. For instance, different fabrics may require different pre-treatment methods, while laptops with delicate screens need gentle and non-abrasive solutions.
How to Get Sticker Residue off Clothes
Pre-treatment Methods for Fabric Types
1. Delicate Fabrics
Delicate fabrics, such as silk or lace, require extra care when removing sticker residue. Start by gently lifting any easily removable residue with a soft, non-abrasive cloth. Then, apply a small amount of denatured alcohol to a clean cloth and dab the affected area, working from the outer edge inward. This should gradually lift the residue without damaging the fabric.
2. Cotton and Polyester Blends
Cotton and polyester blends can withstand more aggressive pre-treatment methods. Begin by loosening the residue with a scraping tool, taking care not to damage the fabric. Apply a small amount of rubbing alcohol to a cloth and gently blot the residue until it is completely lifted.
3. Denim and Heavy-duty Fabrics
Denim and heavy-duty fabrics can be more resilient when it comes to sticker residue removal. Start by scraping off any excess residue with a blunt knife or a plastic scraper. Then, apply a generous amount of adhesive remover to a clean cloth and rub it onto the affected area. Allow the adhesive remover to penetrate the residue for a few minutes before scraping it off.
Step-by-step Removal Process for Clothes
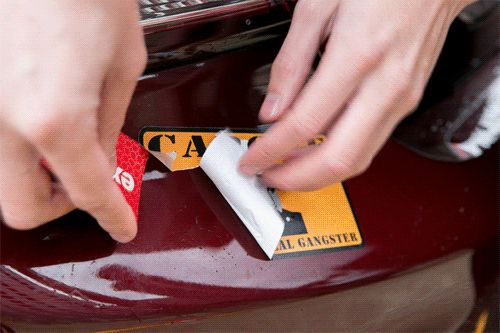
- Loosening the residue: Start by gently loosening the residue with a scraping tool or the edge of a credit card. Be cautious not to damage the fabric or spread the residue further. Work slowly and methodically to avoid any mishaps.
- Applying adhesive removers: Apply a small amount of adhesive remover to a clean cloth and gently rub it onto the residue. Let the remover sit for a few minutes to allow it to penetrate and dissolve the adhesive. Be sure to follow the instructions on the adhesive remover product for the best results.
- Scraping off the residue: After the adhesive remover has had sufficient time to work, use a scraping tool or the edge of a credit card to gently scrape off the remaining residue. Be patient and thorough, making sure to remove all traces of the sticky substance.
- Laundering the clothes: Finally, launder the clothes as usual to remove any leftover adhesive remover residue. Follow the manufacturer’s instructions for cleaning the fabric to ensure that it remains in good condition.
How to Get Sticker Residue off a Laptop
Determine the Laptop Surface Type
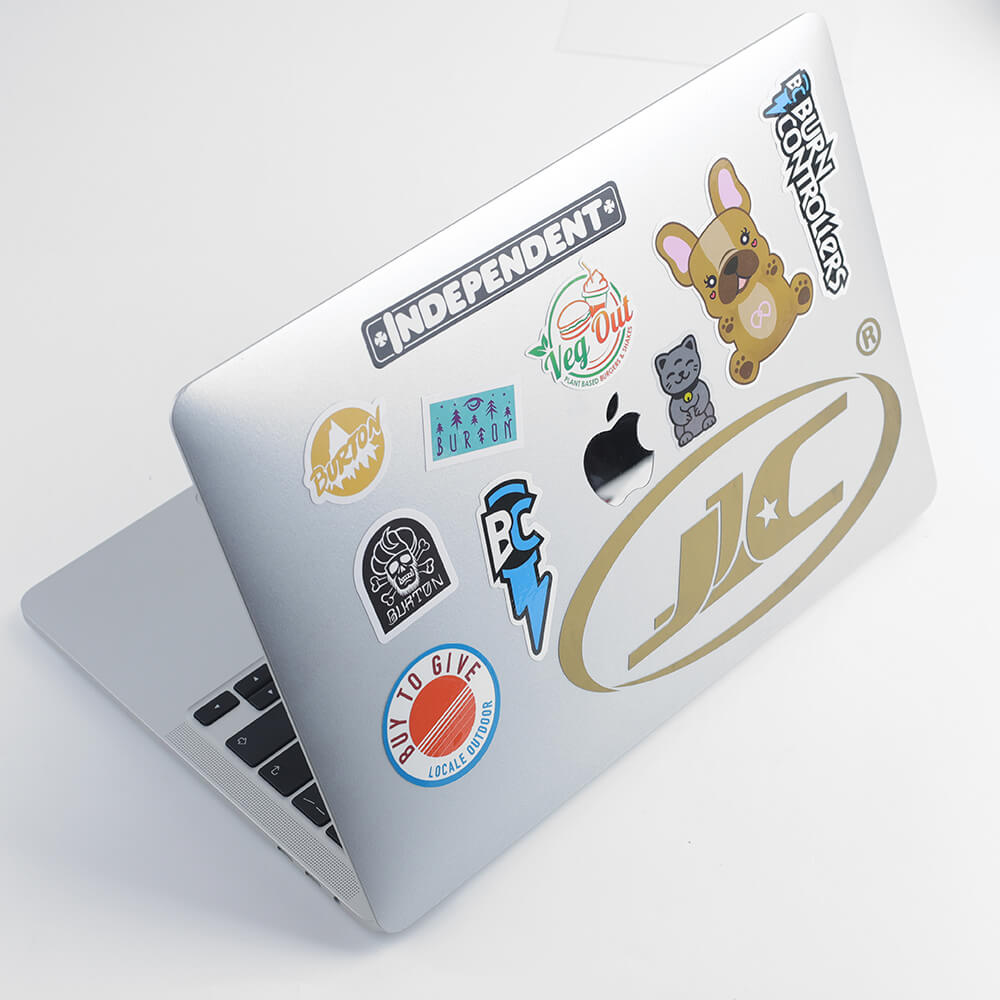
Before attempting to remove sticker residue from a laptop, it is important to determine the type of surface material your laptop has. Common surface types include plastic, aluminum, and glass, each requiring specific methods for residue removal.
Non-abrasive Methods for Delicate Surfaces
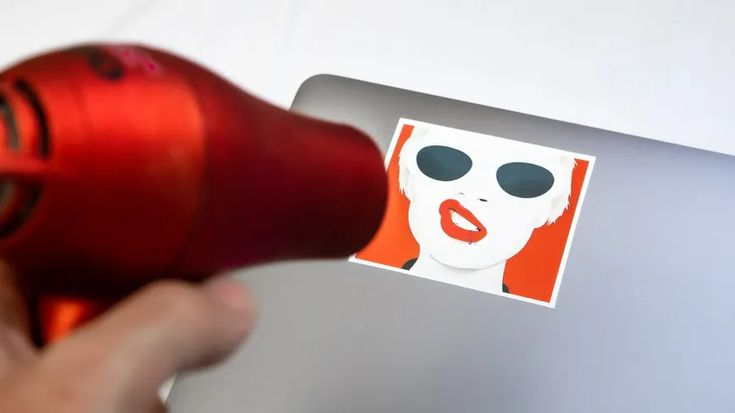
1. Using Heat to Remove Residue
For delicate surfaces such as laptop screens, using heat can help soften the adhesive, making it easier to remove. Start by using a hairdryer on a low setting, directing the warm air towards the residue. Once the adhesive begins to soften, gently peel off the sticker residue using your fingers or a soft cloth. Be careful not to apply too much force, as this may damage the screen.
2. Natural Oil-based Solutions
Another effective method for removing sticker residue from delicate laptop surfaces is to use natural oil-based solutions. Olive oil or coconut oil, for example, can be applied to a cloth and rubbed onto the residue. Allow the oil to sit for a few minutes to break down the adhesive, then gently wipe away the residue.
Safe Abrasive Methods for Tougher Surfaces
1. Rubbing Alcohol or Nail Polish Remover
For tougher laptop surfaces, such as plastic or aluminum, rubbing alcohol or nail polish remover can be used as effective adhesive removers. Apply a small amount of alcohol or polish remover to a cloth and gently rub it onto the residue. The adhesive should dissolve, allowing you to wipe away the residue easily. Be cautious not to use excessive force, as this may cause scratching.
2. Gently Sanding the Residue
In more stubborn cases, a gentle sanding technique can be employed. Use a fine-grit sandpaper or a specialized rubbing pad designed for electronics and gently rub the residue in circular motions. This method should be used with caution to avoid damaging the surface of the laptop.
Final Cleaning and Care Tips for Laptops
After removing the sticker residue, it is important to clean and care for the laptop properly. Use a non-abrasive cloth and a mild cleaning solution to wipe away any remaining residue or fingerprints. Avoid using harsh chemicals or abrasive cleaners, as they may damage the surface. Regular cleaning and care will help maintain the appearance and longevity of your laptop.
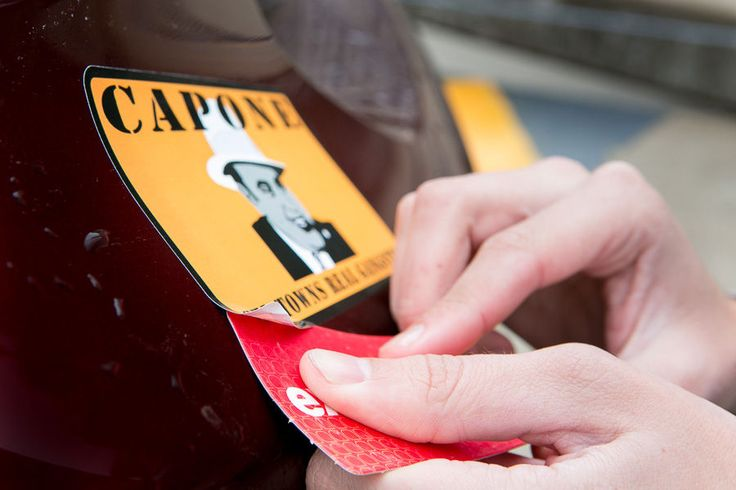
How to Remove a Sticker off a Car

Assessing the Car Surface Type
Just like laptops, cars have various surface types that require different approaches for removing sticker residue. Glass, metal, and plastic are the most common materials used in car surfaces, and each requires specific methods to safely and effectively remove residue.
Pre-treatment Methods for Different Materials
1. Glass and Windows
For sticker residue on car windows, start by softening the adhesive with a hairdryer on a low setting. Once the adhesive is slightly softened, use a plastic scraper to gently scrape off the residue. Be careful not to apply too much pressure, as this may cause scratching. Afterward, clean the window with a glass cleaner to ensure a spotless finish.
2. Metal Surfaces
For metal surfaces, such as car body panels, begin by applying a small amount of rubbing alcohol or adhesive remover to a clean cloth. Gently rub the cloth onto the residue, allowing the adhesive remover to dissolve the sticky substance. Once the residue is loosened, use a plastic scraper or a soft cloth to remove it. Finish by cleaning the metal surface with a mild soap and water solution to remove any remaining residue or cleaning product.
3. Plastic Parts
Plastic parts, such as bumpers or trim pieces, require a different approach. Start by using a heat gun or a hairdryer to warm the area with the residue. This will soften the adhesive, making it easier to remove. Once the adhesive is softened, use a plastic scraper or your fingers to peel off the residue. Finish by cleaning the plastic part with a mild soap and water solution.
Step-by-step Process for Removing Residue from Cars
- Softening the adhesive: Begin by softening the adhesive on the car surface using a heat gun or a hairdryer on a low setting. Hold the heat source a few inches away from the residue, moving it in circular motions to evenly distribute the heat. This will help loosen the adhesive and make it easier to remove.
- Using specialized tools: Depending on the surface material, use the appropriate specialized tools, such as plastic scrapers or sanding pads, to gently remove the residue. Take care not to scratch or damage the surface during this process. Use slow and steady motions, applying gentle pressure to avoid any mishaps.
- Cleaning and buffing the area: After the residue is completely removed, clean the area thoroughly with a mild soap and water solution. Use a non-abrasive sponge or cloth to gently scrub the surface and remove any remaining residue or cleaning product. Finish by buffing the area with a soft, dry cloth to restore the shine of the surface.
Tips and Tricks for Stubborn Residue
Using Household Items as Adhesive Removers
If you find yourself without a specialized adhesive remover, fear not! Many household items can be used as effective adhesive removers. Rubbing alcohol, white vinegar, or even peanut butter can be applied to the residue and gently rubbed in until it dissolves. These household remedies are particularly useful for tackling stubborn residue on various surfaces.
The Power of Heat and Solvents
The combination of heat and solvents can work wonders when it comes to removing sticker residue. By applying heat to the sticky substance and using solvents like rubbing alcohol or acetone-based nail polish remover, the adhesive can be effectively dissolved, making it easier to remove. However, exercise caution and test these methods on an inconspicuous area first to ensure they do not cause any damage.
Techniques for Avoiding Damage While Removing Residue
To avoid damage when removing sticker residue, it is important to employ the right techniques. Always use gentle pressure and avoid excessive force that may scratch or harm the surface. If uncertain, test a small and inconspicuous area first to ensure that the chosen method does not cause any adverse effects.
Conclusion
In conclusion, sticker residue can be frustrating, but with the right techniques and materials, it can be easily removed from clothes, laptops, and cars. By understanding the causes of sticker residue, assessing the type and condition of the surface, and following the step-by-step removal processes provided, you can say goodbye to sticky situations. Don’t forget to share your newfound knowledge with others, as they too can benefit from these effective removal methods.